Home MMA Training Gear: What to Buy First
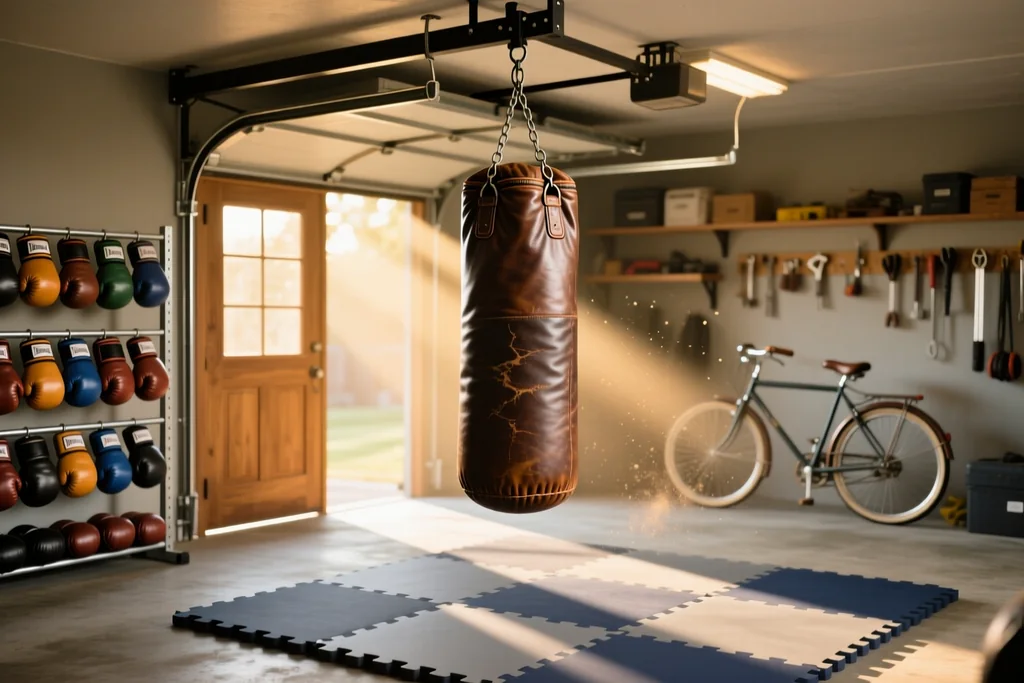
You do not need a gym to build the physical side of mixed martial arts, and you do not need a cage to sharpen most of the technique. A corner of a garage, a wall and about two square metres of floor will cover conditioning, footwork, bag work and drilling — which is more training than most people manage when they rely on classes alone.
The trick is buying in the right order. Equipment is expensive, space is limited, and the first purchase most people make is the one that stops them training within three months.
What you can genuinely train at home
Striking mechanics, footwork patterns, conditioning and shadow work all transfer directly from a home setup to the gym. If you can throw a clean jab in your garage, you can throw a clean jab on the pads. If you can hold a stance for three minutes while moving in a square, your coach has less to fix when you arrive.
What you cannot do at home is sparring. Timing against a resisting opponent, clinch work, takedown defence under pressure and positional grappling all require partners, and no bag or dummy replaces them. Home training supplements gym training — it never substitutes for it.
The value of a home setup is frequency. Three short sessions alone in a week will improve your conditioning and your mechanics faster than one long class, because the work is specific and unbroken by instruction.
The first three things to buy
Start with a mat. Interlocking foam tiles, judo-style mats or a thick roll-out give you a safe surface for bodyweight work, shadow wrestling and stretching, and they protect the floor underneath. A two-by-three-metre area is enough for solo drilling and for a partner to throw you down without hitting concrete.
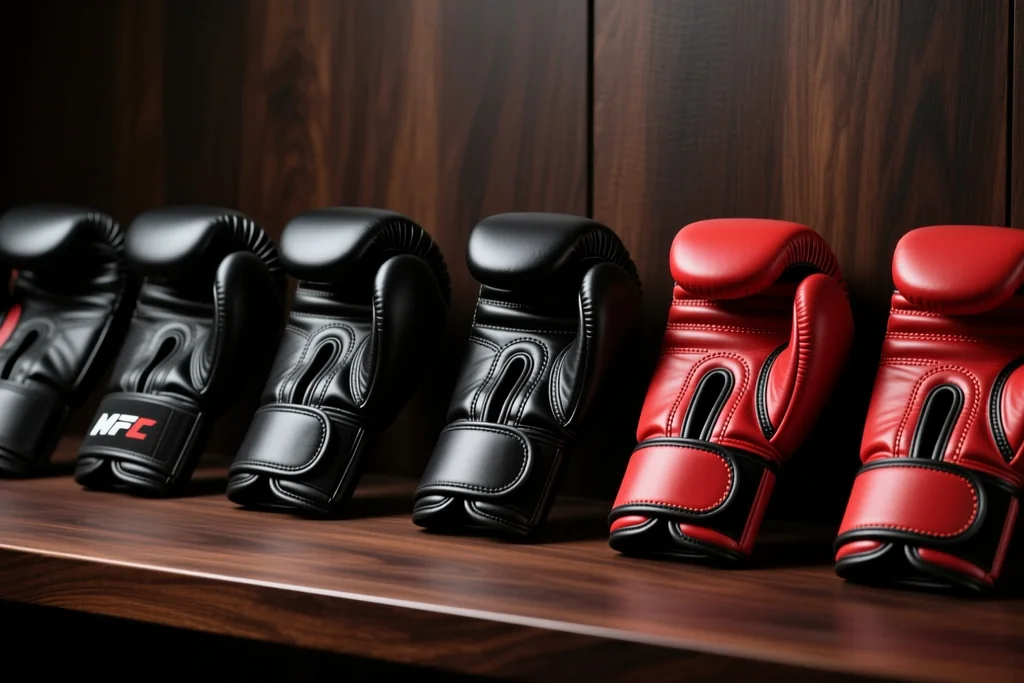
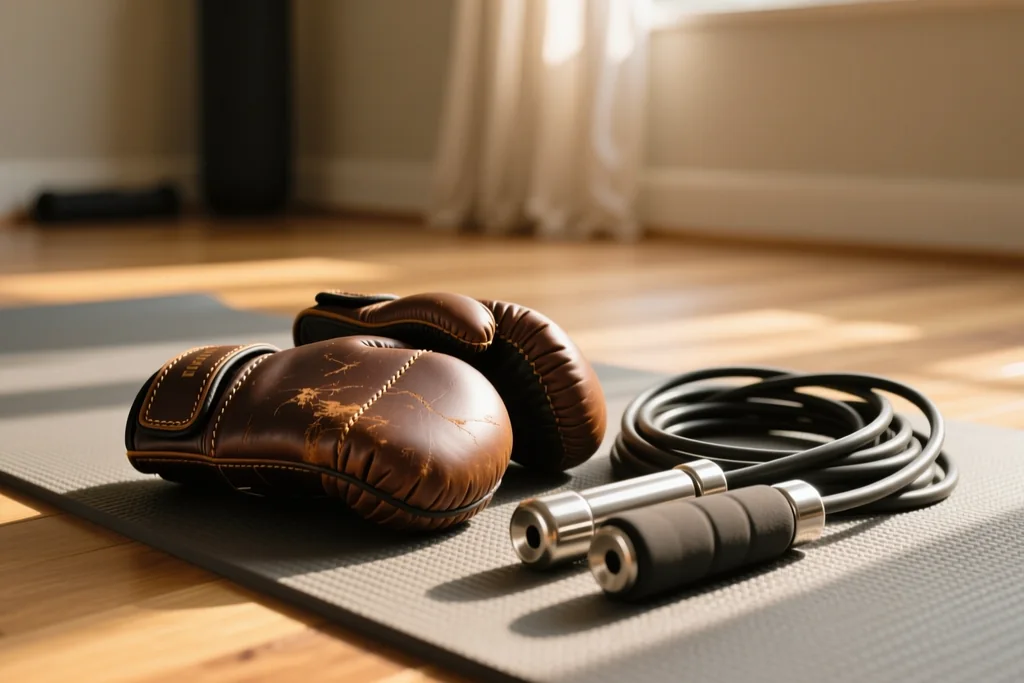
Second, a pair of bag gloves and hand wraps. Even if the bag is still on your shopping list, wraps and gloves let you work the pads with a partner, which is the single most efficient way to improve striking at home.
Third, a heavy bag — but only if you have somewhere to hang it and neighbours who will tolerate it. If either of those is in doubt, a freestanding bag is the better buy, because it can be moved into a corner and it does not transmit noise through the building's structure.
- Mat first: it makes every other session safer and more comfortable.
- Gloves and wraps second: they unlock pad work with a partner.
- Bag third, and only after you have solved the hanging and noise problem.
Hanging bags versus freestanding
A hanging bag gives the most honest feedback. It swings, it absorbs, and it forces you to time your shots and move your feet rather than staying planted. It also needs a joist or a beam rated for its weight, a mount that will not work loose, and a tolerance for the thud travelling through the building.
A freestanding bag takes the structural problem away entirely. It sits on a weighted base, moves less, and can be pushed into a corner when the session ends. In exchange, it feels different: a base-loaded bag tends to rock rather than swing, which changes how you work combinations.
Whatever you choose, add a cheap set of focus mitts. Mitts turn a partner into a coach, let you drill specific combinations at speed, and cost far less than the bag does.
Conditioning without heavy equipment
Most MMA conditioning needs nothing more than a floor and a clock. Shadow boxing in rounds builds striking endurance and stance discipline at the same time. Sprawls, shrimping, sit-throughs and wall walks build the movements that grappling is made of, and they can all be done on a mat the size of a doorway.
A skipping rope covers footwork, rhythm and calf endurance in ten minutes. Bodyweight circuits — push-ups, squats, lunges, planks, burpees — cover the general strength that supports everything else. None of it requires equipment beyond shoes and a timer.
The one purchase worth making here is a decent interval timer or a phone app that counts rounds, because the discipline of MMA conditioning is really the discipline of working to a clock rather than to comfort.
The kit table, sorted by value
Below is how the standard home equipment list breaks down once you prioritise by what actually gets used. Items at the top of the list pay for themselves within a month; items at the bottom are the ones people buy first and use least.
| Item | What it trains | Space needed | Alternative |
|---|---|---|---|
| Training mats | Grappling movement, bodyweight work, stretching | 2 × 3 m | Thick rug plus knee pads |
| Bag gloves and wraps | Striking mechanics and pad work | None | Any open-finger training glove |
| Skipping rope | Footwork, rhythm, calf endurance | 2 × 1 m | Shadow boxing in rounds |
| Freestanding bag | Power, combinations, timing | 2 × 2 m, corner | Hanging bag if a beam is available |
| Focus mitts | Accuracy and combination speed | None, needs a partner | Wall-mounted pad |
| Interval timer | Round structure and pacing | None | Phone app |
The pattern in that table is worth noticing: the cheapest items train the most transferable skills, and the heaviest items are the ones that need a partner or a building to work well. Buy from the top down and you will never own equipment you do not use.
Building a session that works at home
A practical home session runs about forty minutes: five minutes of skipping or shadow movement, three rounds of shadow boxing with a specific focus, three rounds on the bag or mitts, ten minutes of sprawls and shrimping, then five minutes of stretching. That is a complete training unit, and it costs nothing beyond the kit already on the list.
Keep a notebook, or a note on your phone, with one technical focus per week — the jab, the check, the hip escape — and let every session work that focus. Progress at home comes from repetition with attention, not from the equipment around you.
The best home setup is the one that is still being used in six months. A mat, a pair of gloves and a rope will get you there, and every other item on the list is an upgrade you earn by training consistently enough to notice the difference.